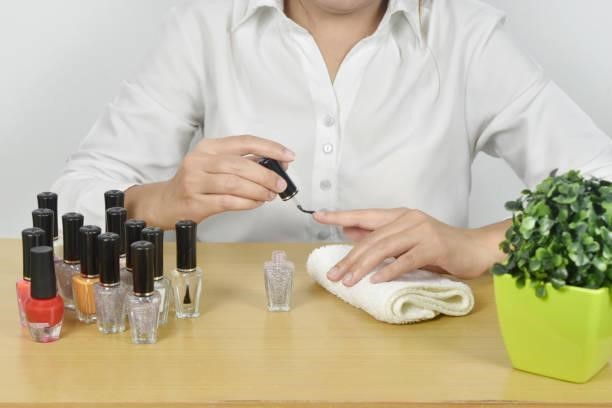
Nail art using builder gel has become hugely popular in recent years. Unlike traditional nail polish, builder gel allows you to sculpt your nails into any shape and design imaginable. The possibilities are endless with builder gel, from stunning 3D floral arrangements to chic stiletto tips. Mastering the techniques does take practice, but the results are well worth the effort.
In this comprehensive article, you will learn all the steps and tips needed to start creating beautiful works of art on your nails using builder gel.
1. Prepare The Nails
Before applying any builder gel, start with a clean nail bed. Also, understanding what is builder gel nails becomes crucial for proper application. Trim and shape your nails into your desired length and shape. Then, gently remove any shine from the natural nail plate. This helps the builder gel adhere properly.
Push back and trim any cuticles, as builder gel will not adhere well to the skin, and oils from the cuticles can cause lifting. Use a cuticle pusher and nipper to trim any excess cuticle tissue neatly.
Then, thoroughly cleanse the nails to remove any dust and oils. Use an acetone-free nail polish remover or nail dehydrator and wipe over each nail. This preps the nails for maximum adhesion.
2. Apply The Base Gel
Applying a quality base gel before sculpting is the key to avoiding lifting and damage with builder gel. This creates a firm, flexible layer for building upon. Apply a thin but opaque layer of base gel, cure under an LED or UV lamp, then repeat for a second layer. Ensure you “cap” the free edge so the gel seals to the very tip of the nails.
The base should fully cure under the lamp for 30-60 seconds. Do not wipe a tacky layer – the base should be smooth, dry, and not sticky to enable sculpting over it.
3. Sculpting The Nails
Here is where you can let your creativity run free! Begin by squeezing a small bead of builder gel onto the nail where you plan to sculpt. You can apply it directly to the nail bed for a tip overlay or closer to the cuticle for an entire sculpted nail.
Use the belly of the application brush to pat and spread the gel into the desired shape. The key is to work slowly and carefully, patting rather than brushing, which can create air bubbles.
For a classic round shape, define the sidewalls by angling the brush and gently patting the gel towards the edges. Be careful not to touch skin or cuticles with the product.
Once the basic shape is formed, you can perfect the application before curing. Use the brush tip to refine the shape and make sure the builder gel is even and smooth. Gently pat away any lumps or bumps.
Cure under the LED/UV lamp according to the manufacturer’s instructions, usually 30-60 seconds. The gel should no longer be sticky or tacky after complete curing.
Repeat this process on all nails until your chosen shape is complete. Remember to cap off the free edge each time for strength and maximum longevity.
4. Get Creative with Design
The sculpting technique remains the same when creating more elaborate nail art designs. Rather than a basic oval or square shape, you can sculpt flowers, animals, geometric patterns – anything you can imagine!
Some popular design techniques include:
- Ombre colors – Gradually blend two gel colors by overlapping and gently pushing upwards.
- Marbling – Drop various colors next to each other, then use a brush to swirl and blend.
- Encapsulation – Sculpt 3D designs like flowers and bows, then encapsulated in the clear gel for dimension.
- Inlay – Cure your base colors fully, then sculpt a design in clear gel. Cure between layers.
Take advantage of the long wear of builder gel to get creative! The only limit is your imagination.
5. Finishing Touches
Once cured, your sculpted nails should feel smooth and even with no tackiness. Use a fine-grit nail file to shape and refine the edges. File at a 45-degree angle to prevent weakening the nails.
Gently buff over the surface of each nail in one direction to eliminate any minor imperfections. Avoid back-and-forth buffing motions.
Finish with hydrating cuticle oil and nourishing hand cream to replenish moisture and condition the skin and nails.
Your stunning nail sculptures are now complete! You can let your creativity soar with builder gel with practice and patience. Just follow these tips and techniques for salon-worthy results.
Conclusion
Builder gel for crafting gorgeous nail enrichments has a bit of a curve. However, following the correct product, preparation, and technique basics covered here can help you get started on a good note.
Ensure that you use quality, good-reputation of jellies and instruments. Apply in small amounts, but work slowly and carefully. Therefore, do not shy away from trying new designs and having fun.
With a bit of practice, you’ll be able to create stunning nails that will have everyone asking where you had them done. Imagine the gorgeous manicures you can craft at home by mastering the builder gel application. You can even customize designs for special occasions or whenever you feel like turning your nails into mini works of art.


