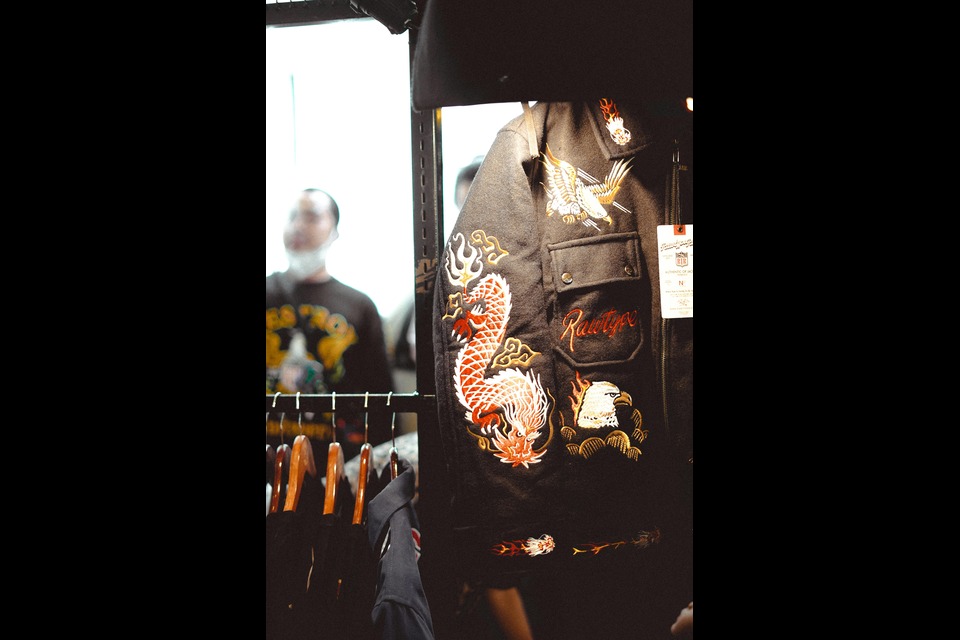
People love a beautiful form of arts and crafting popularly known as embroidery for centuries! Embroidery from jacket is an art of needles, and now it has become easy with the help of common embroidery machines available in the market.
You can create flowers, birds, animals, and many different designs using embroidery computer software or custom design yourself. Now, it is possible that you may make your picture as an embroidery design and stitch it on the fabric. In case you run out of ideas, you can visit online and select the one for your new embroidery pattern.
The embroidery art is colorful and full of intricate designs – but embroidery designs are also prone to mistakes and blunders, which may result in unstitching the design from your fabric. Embroidery can make an old garment new, and we often try to test the theory by making an embroidery pattern on the jacket. Sometimes it can go way wrong, and there are no options left other than undoing what has been done.
Beginners or even seasonal embroiderer all face this situation at least once in their career. Then there is always a question of how to remove embroidery from my jacket/ or shirt. Thanks to the common embroidery machines, there are few chances you encounter the unstitching issue, but still, you have to face it.
In this article, I’ll guide you on how you can remove embroidery from your jacket without damaging the fabric. Let’s get started.
Use of tools:
Of course, there are specific tools that can be used to undo your embroidery design, like:
Seam ripper:
It is a small pointed tool that is used for unstitching embroidery and sewing stitches. The seam ripper is available in versatile styles and sizes, and it is part of every sewing box. The sharp point of the seam ripper is inserted into the seam underneath the thread and cut it.
The seam ripper removes stitches; also, the other corner’s rubber tip will whisk away the leftover threads. Seam Ripper works effectively on hand embroidery designs.
Embroidery eraser:
The second professional unstitching tool is the embroidery eraser. It is an electric device that is quite helpful in removing machine embroidery designs. The embroidery eraser works on the power; it works the same as the seam ripper under the threads and clips them loose and cut. It also works fast and efficiently.
How to embroidery from Jacket remove stitches:
Here is a step by step guide on how to remove stitches by using any of these tools.
Step 1:
Flip the jacket to the opposite side:
It is better to flip the side of the jacket to get started. The reason behind it is that the top surface is the good side of the garment, and in case of accidents, the tool’s sharp edges can damage the excellent layer of fabric. When you remove hand embroidery from the material, you can place the cloth in the embroidery hoop. It will straighten the garment, and you can remove stitches easily.
Step 2:
Cut the threads:
After you are done with flipping fabric upside down, you will have a clear view of stitches.
Seam Ripper:
When you remove it with a seam ripper, gently place the hook under the bobbin threads and turn the hook to cut the line. Test that how many threads you can remove at a time. Make sure you work slowly and gently. Also, start from small amounts of stitches and then move to bigger ones. That way, you may not damage the fabric of the jacket.
Embroidery eraser:
It is an easy-to-use tool to remove embroidery mainly from jackets because there are primarily monograms and logos on jackets and caps. Furthermore, jackets contain machine embroidery, so that a seam ripper might be a slow tool for it.
Before getting the start, ensure that you have straightened up the jacket. Now start working from external threads and slowly move to the eraser over the embroidery stitches’ corner. Stitches will cut loose gradually. Ensure that you lift the embroidery eraser after every two centimeters – this will help avoid any damage while you work your way all around.
Step 3:
Remove the leftovers:
Once you feel you are done with either of these tools, flip back the jacket. Remove the leftover stitches with the help of tweezers or scissor if you need. If the design was thick and complex, use a magnifying glass and check for any leftover threads. Furthermore, there are chances you may need to repeat the process until it is all clear.
Step 4:
Finishing touch:
Once you are done with unstitching, brush your embroidery from jacket with a lint brush or tape. At last, iron or wash your jacket if you consider it necessary. Bingo, you have completed the task!
Conclusion:
Removing embroidery looks like a difficult task, but in reality, by following few steps, it gets easier. Make sure you are stitching your new embroidery design using common embroidery machines to avoid any further unstitching work. For similar articles you can also visit this website.


