When it comes to insulating your home and protecting it from moisture-related issues, understanding the role of vapour barriers and vapor retarders is crucial. These elements are critical to maintaining a comfortable and energy-efficient indoor environment. In this article, we’ll guide you through the process of installing a vapor barrier and explain the differences between vapor barriers and vapor retarders.
What is a Vapour Barrier?
A vapour barrier is a material that prevents water vapor from moving from one side of a building assembly to the other. Its main function is to regulate moisture diffusion and condensation within the structure. In cold climates, vapour barriers are often installed on the warm side of the building envelope, which is the inside side, to prevent warm, moist air from reaching the cold surfaces and causing damage.
Materials Needed for Installing a Vapour Barrier
Here are the necessary materials to install a vapour barrier.
- Utility Knife
- Tape
- Staple Gun
- Measuring Tape
- Safety Gear
Why is Vapour Barrier Installation Important?
Vapor barriers are essential for safeguarding your property from moisture damage, mold growth, and energy loss. These barriers, which act as a protective shield, successfully prevent the entry of moisture and its negative effects on your property.
Steps to Install a Vapour Barrier
Step 1: Preparation
Repair any drainage issues. If necessary, install a sump system. Check that downspouts are directed away from the home and that the gradient is correct. Large cracks or damaged walls should be repaired. Remove any low-hanging ducts, pipes, cables, or insulation. Clean the walls with soap and water before applying fabrication tape. Before applying fab tape, ensure walls are clean, dry, and free of debris. Level the floor, install foundation vent covers, and dehumidify if necessary. Before applying fab tape, ensure walls are clean, dry, and free of debris. Level the floor, install foundation vent covers, and dehumidify if necessary.
Before constructing a crawl space vapour barriers system, consult an HVAC contractor if you have combustion devices in the crawl space, such as a heating system or water heater. It is important to install a carbon monoxide sensor in areas with combustion equipment present to ensure safety.
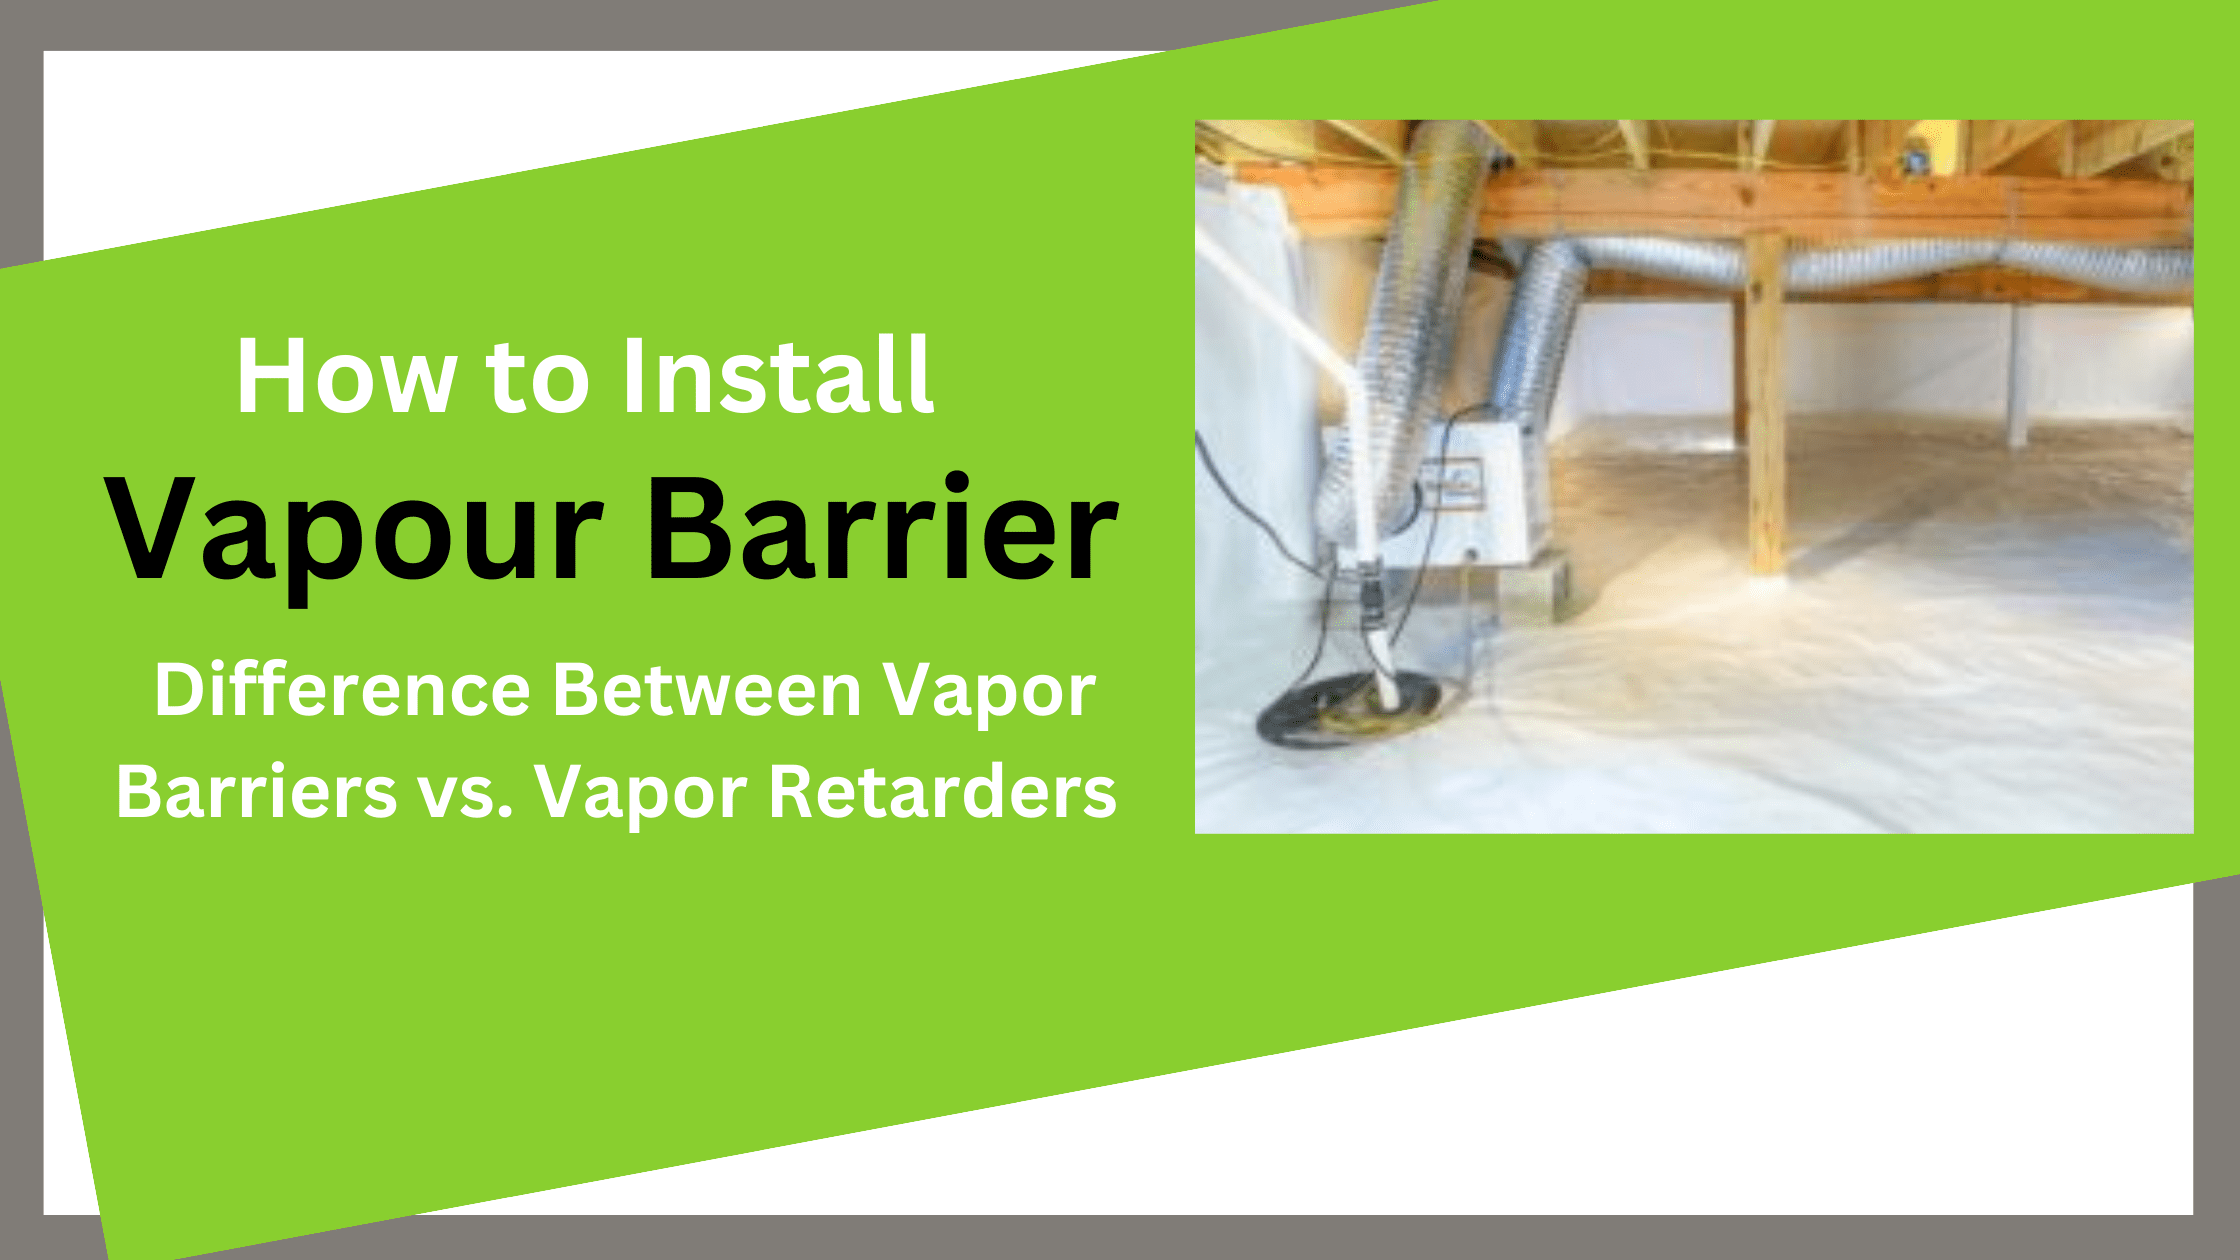
Step 2: Install the Wall Curtain
Apply fabrication tape at least 3″ below the top of the crawl space walls (snapping a chalk line can help you keep an even distance from the top of the wall). Install fab tape at least 18″ above the floor on piers or supporting walls. Then, install the tape at least 18 inches above the floor on supporting walls or piers. Pipe boots for pipes up to 8″ in size are going to be added subsequently. Enable at least 3″ from the top of the wall to enable a termite examination. Pipe penetration along with other wall access must be removed and mended with fab tape. Cosmetics and repair can be accomplished with the addition of seam tape.
The perfect time to install mechanical fasteners is right now. Drill an expansion fastener every 3 feet through the vapor barrier at the center of the fab tape using a 14″ masonry bit. By installing these immediately, you can avoid concrete dust from getting on your floor’s vapour barrier and will also provide extra support if you need to pull on it while covering the floor area. Clean the wall curtains of dust before putting the floor liner in.
Step 3: Cover the Floor Area
Install the vapour barrier over the whole floor space, leaving a 12-inch overlap for the wall curtain and all floor seams. Install vapour barriers at least 18″ above the floor on piers or support walls. If required, fix them with fab tape and seam tape around any blockages or openings. For pipes up to 8″ in size, pipe boots can be put on top of the barrier. Remove the area of debris and keep excess tape and materials for repairs.
Vapour Barrier vs. Vapor Retarder: Understanding the Difference
While the terms “vapour barrier” and “vapor retarder” are often used interchangeably, they serve slightly different purposes.
Vapour Barrier
A vapour barrier is an impermeable material that effectively blocks the passage of moisture vapor.
It is typically used in colder climates to prevent warm, moist air from reaching cold surfaces and causing condensation.
Vapour barriers are installed on the warm side of the building envelope.
Vapor Retarder
A vapor retarder is a material with a lower permeability to moisture vapor compared to other building materials.
It allows for some moisture movement but still restricts it to a certain extent.
Vapor retarders are used in milder climates where moisture control is necessary but not as critical as in colder regions.
Conclusion
In conclusion, installing a vapour barrier is a crucial step in maintaining a comfortable and moisture-free indoor environment. According to your environment and particular needs, you should decide between a vapour barrier and a vapor retarder. Expert installation is required to ensure the efficacy of moisture control techniques, regardless of your decision. By following the steps outlined in this guide, you can help protect your home from moisture-related issues and enhance its energy efficiency.