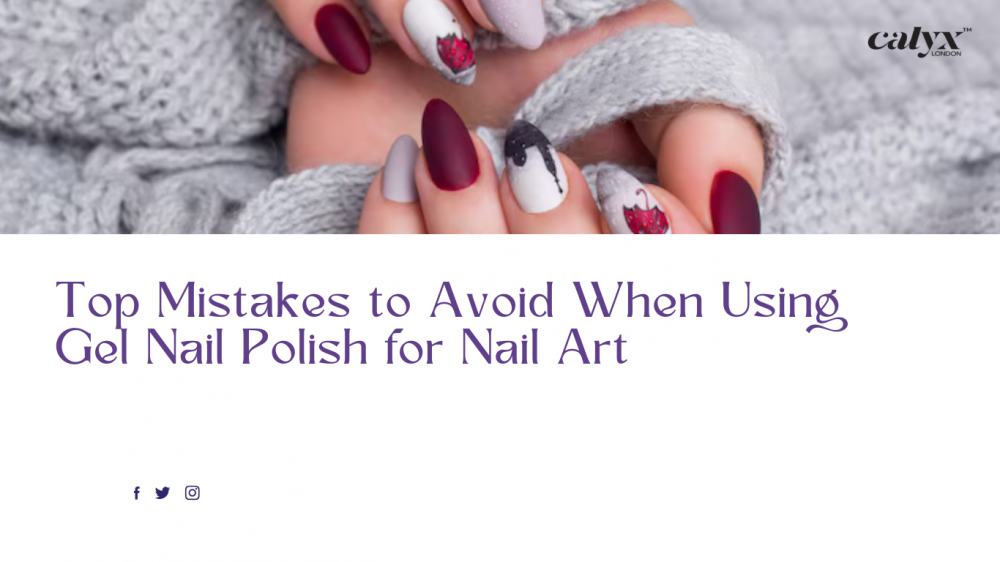
The power of a great manicure does not lie. Experimenting with fashionable designs or just a desire to have a shiny, long-wearing finish, gel nail polish for nail art is a must-have nail drawing tool among both professionals and nail lovers at home.
Why? Gel polish gives us all that we desire by having vibrant shades, long-lasting properties, and being chip-free. It can also be used with any elaborate nail art that prevents smudging of the designs.
However, along with all the good, also lies a negative in the form that gel polish can easily be misused, particularly when you are working at home or as a novice. Application errors as minor as a simple mistake on the job can result in bubbles and cracking, lifting, or short-lived design. Now, not every person out there in the world or saying that not everyone should use gel nail polish, as you might be trying to master this type of nail art. But, to help avoid any needless mistakes, or even frustration as well as wasted products, avoid these five common mistakes.
Here’s a detailed look at the most common gel nail mistakes and the smart fixes to keep your nail art looking flawless.
1. Skipping the Base Coat and Top Coat Gel Polish
We can begin with the most obvious mistake that may interfere with your manicure in advance, i.e., not applying base coat and top coat gel color.
The base coat serves as a shield between your nails and the gel color that you apply. It gives better fixation and lessens the staining by darker colors. If you do not apply this layer, then your polish layer will peel off or come up earlier than anticipated.
The gel top coat nail polish for the top coat is also very important. It locks your nail art, gives it that much-desired glossy mark, and makes the polish resistant to chipping. To make sure that your manicure will last long, apply a high-quality professional nail top coat. Others even contain UV filters to prevent them to not yellowing with time.
Pro Tip: Cure your base and top coat always in a proper UV/LED lamp according to product directions to be very vigilant.
2. Thick or Uneven Gel Polish Application
Applying the gel polish so thick is one of the major errors people can make. Contrary to ordinary polish, gel must be put on in thin, even topical layers to set. The thick layers may result in bubbling, wrinkling, and even painful spikes of heat when undergoing the curing process.
A perfect gel polish application starts with wiping the extra product off your brush and applying in layers. This prevents gaudy finishes and makes your gel art less likely to smudge off, so to speak.
3. Not Capping the Free Edge
This may be the case when you chip your nail tips within a few days. The final step is to cap the free edge (or swipe along the free edge a bit of the polish you are using), which helps seal the polish and avoid wear and tear.
It is particularly vital when using the gel polish and top coat. Leaving the edge unsealed welcomes lifting, cracking, and makes your manicure less long-lasting.
4. Poor Nail Prep Before Gel Application
Gel polish does not adhere to oily, wet, or dirty nails. Nail preparation is among the processes in taking gel nail polish nail art that is the least considered. No matter how terrific of a nail artist is, a poor base can not be made good.
Here’s how to prep your nails for success:
- Push and cuticles cut
- Gently rub on the surface of the nail to eliminate shine
- Cleanse every nail using alcoholic cleanser
- If necessary, apply a dehydrator or primer
Failure to do this may cause lifted nails and expenditure of time and energy.
5. Getting Gel Polish on Skin or Cuticles
Sinking the cuticle or touching the skin with gel polish is a formula of removal and irritation. Polish, which cures on your skin, does not adhere to your nail plate, which means that it will peel off fast, with the design included.
When you have fine lines or dotting tools in your nail art, you are to be particularly cautious on the area by the cuticle. In case gel has got on the skin, apply a cleanup brush dipped in isopropyl alcohol to remove it prior to curing.
Already cured it by mistake? To safely remove the gel polish on the skin, check out this: Quickly rub out the gel polish gently with a wooden cuticle stick or with the use of a fine nail file. Use of metal tools should be avoided so that you do not get a cut.
6. Using the Wrong Gel Nail Polish Top Coat for Nail Art
Not every top coat is something special. When you invest in complex gel nail polishes to decorate your nails, runny or thick top coats will smudge or blur your work.
Find a gel-polish top coat designed specifically to be used with nail art-preferably a type with a medium viscosity which will not drag your designs. A non-wipe or I have heard this term called a no cleanse top coat, is ideal with chrome powders or a quick finish with no sticky residue left over.
This is also very necessary when one is working on acrylics with gel nails, whose designs can only survive well with a thick coating.
7. Not Fully Curing Each Layer
Then there is incomplete curing that may result in peeling, nondescript, or even skin sensitivity. Every gel layer, which is base, color, art, and top coat, should be cured completely with a UV or LED lamp. This will take different times according to the brand of the polish used and the lamp brand.
But when you put your polish on and it does not become sticky or soft after a bit of curing, then it should have a few more seconds. Never leave it untidy, and be sure to note the recommended curing time as well as ensure that the bulbs on your lamp are in working condition.
8. Skipping the Final Cleanse
After curing your last gel nail polish top coat, it normally produces a tacky substance termed as the inhibition layer. It is confused as being imperfect by some users, or is being layered again with more polish.
To clean the tacky layer off your nails, all you have to do is use a pad of lint-free cloth and a drop of isopropyl alcohol. This last wash will not only leave a beautiful glass-like finish but will keep dust or fuzz from destroying your finish.
Final Thoughts: Nail Art Is an Art—and a Process
Gel nail polish nail art does not only mean creative thinking and imagination, but it is also a matter of skill, perseverance, and accuracy. Shying away these mistakes and starting to use best practices, you will achieve salon-quality outcomes that will last long without even leaving your house.
The base is everything, whether you are a newbie trying out small-stroke florals or a latent epitomist and want to do some abstract stuff, your perfect manicure always starts with a sound foundation. Give the nails a prep, thin coats and use good base and top coat along with curing. As long as they have the correct products and habits, even novices may produce professional-looking gel nail art that draws attention.
And the fewer mistakes you get, the less time you have to devote to gel nails repair and more time to flaunt it.