

There are many reasons why homeowners are looking to get a new shower head, such as replacing one that is damaged or leaked or a better fitting one. In this guide we will learn different types of showerhead and how to change it.
Types of Shower Heads
When replacing a shower head one of the first things you have to choose is the type of shower head you want to purchase. Be real regarding your budget and room requirements when you are making your purchase. Here are a few shower head styles:
Shower Heads Wall Mounted
They’re exactly as they sound in their name. They are placed on the wall in the bathroom and fixed in place. The showerhead that is standard will be able to adjust in a circular upward and down movement at the neck, however, the amount of adjustment is small and, therefore, it’s not a good idea to install the fixture in a high enough position or your ceiling is low, those who are taller may need to lower themselves. Although there’s nothing fancy regarding them, these types are the most popular types of fixtures and if the headspace is large, they function perfectly.
Adjustable Shower Head
Showerheads are typically purchased because of their flexibility. They are a great option for those who have mobility issues as well as for bathing pets or children in the tub. A shower head with an adjustable height can also include an option for handheld showers and is mounted on a wall track that lets you move the head up and down to various levels. This is ideal for families of various sizes. Just make sure that the shower head can be easy to adjust for all and works with the existing plumbing.
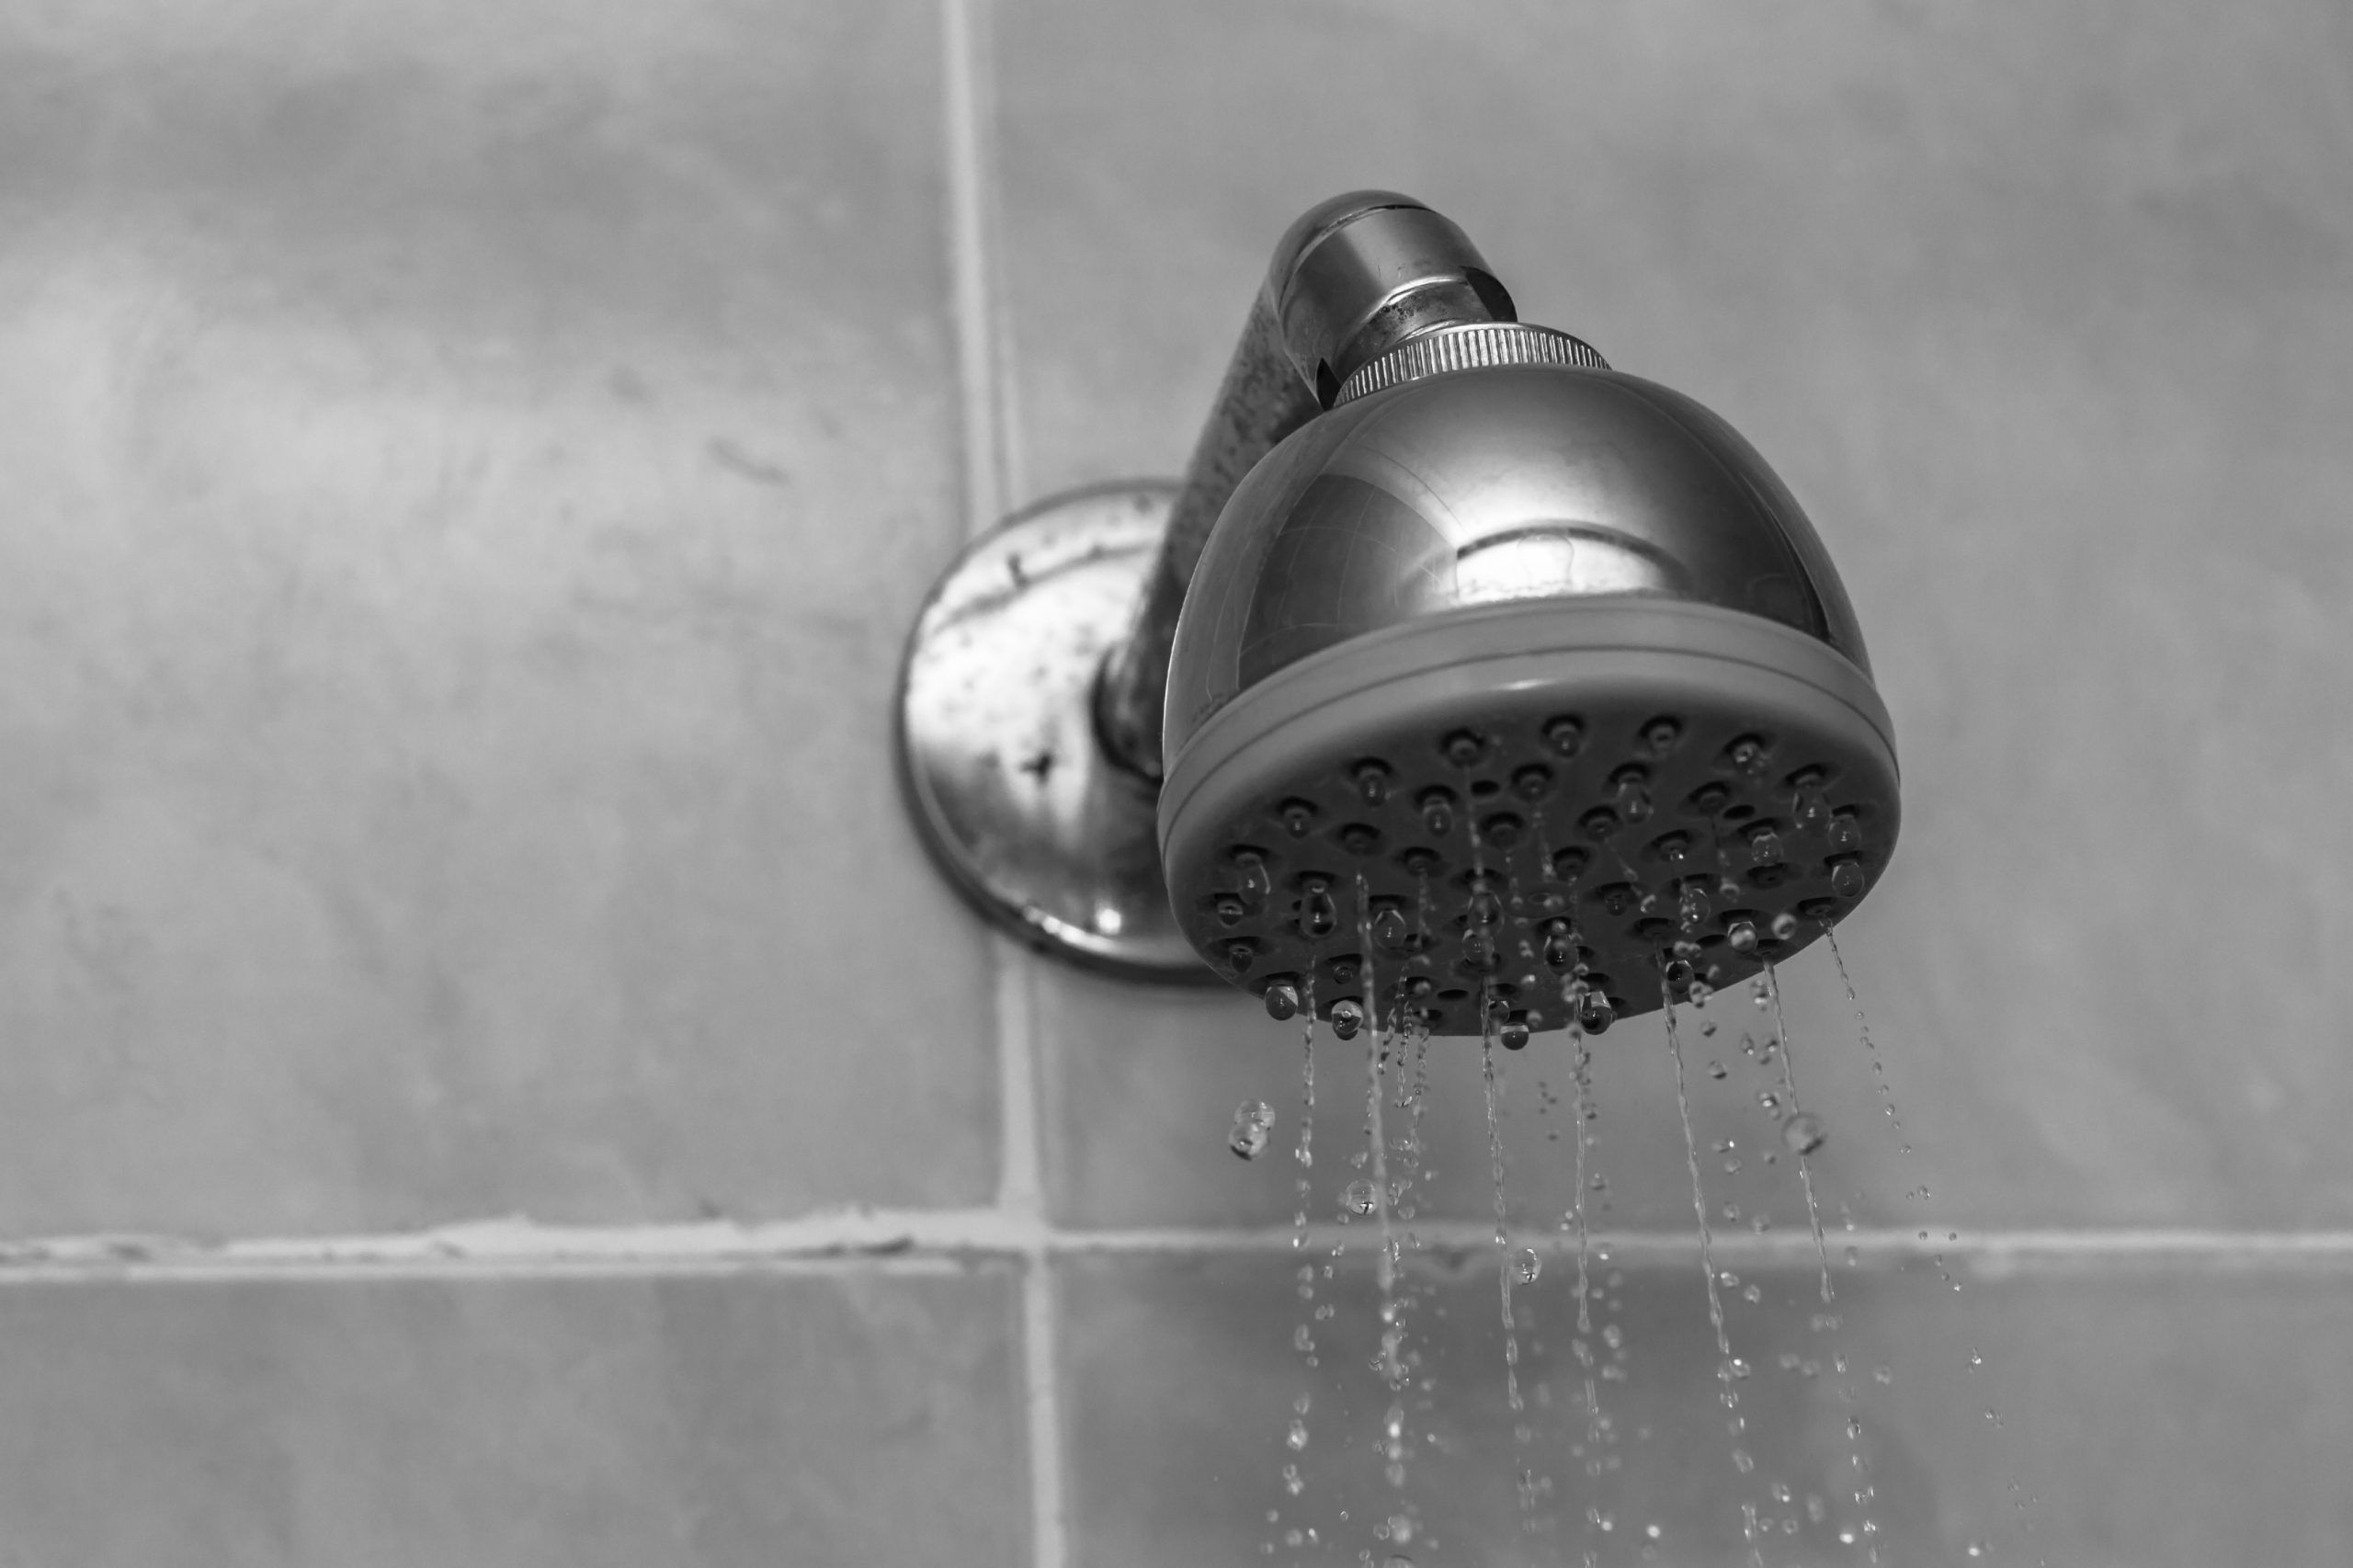
Head of the Rain Shower
They can be mounted to the wall, but they work best when attached to the ceiling. Therefore, it’s probably not an option for DIY when you require a plumber to alter the location of the pipe. They are bigger than standard shower heads, and offer the sensation of sitting in a soft rain. They’re relaxing and therapeutic however because they distribute equally much water across an area larger, there’s not an intense spray. This can be a benefit or a disadvantage based on your house’s water pressure and your personal preferences.
Removal of the Shower Head
An old shower head might require some elbow grease to get rid of. The first step first to stop the flow of water to your home! Next, use an adjuster wrench that can loosen the collar of your old shower head. It is recommended to stay near your eyes as you work this out so that you don’t twist or pull the plumbing within the wall of your shower. It could damage older pipes or cause leaks you aren’t able to see and could result in expensive repairs. Only work on twisting the gooseneck-shaped pipe away from its place of residence as the shower head replacement comes with a brand new one. Tips: Cover the wrench with pieces of tape or small piece of cloth to stop you from scratching any of the surfaces of the pipes.
Clean and use Thread Tape
Clean the pipe free from gunk build-up and scrape off any caulking or residue that has accumulated around the shower area also. There’s a high chance that older pipes that extend to the ceiling or wall have threads that are worn. Making a fresh head for an old connection can cause it to leak water or cause irritating drips. The easiest solution is to apply thread seal tape or Teflon tape. Get this item for a low price when you purchase the shower head from your local hardware shop, in this case. Be sure to wrap it in a clockwise fashion around the threads or it’ll not work.
Check For Leaks
Attach the shower head to the wall in the tightest way possible using just your hands. Turn the shower head towards your wall (away from your body) as much as you can and then switch the water supply back to the house. Switch the shower handle on and then look carefully at the place where the showerhead joins to check for leaks. There could be a few leaks at the beginning, but if the issue persists, try to tighten it a bit more with your fingers or the wrench that is adjustable and turn the head more slowly to ensure an ideal fitting. There is no need to shut the water in the house off at this point. Just switch the shower knob up and down to determine the presence of drips coming from the connector after tightening the connection to the last.
Safety
Be sure to have an upright foot while changing the head of your shower. It is highly likely that there will be a little water that drips out during the process, and this could create an unsafe situation. Keep a couple of towels on hand to wash off any excess water and maybe a mat placed in the tub to provide grip and safeguard the surface of the tub. If you have to utilize a step stool make sure that it is non-slip feet on your feet.
With only a couple of tools and a few hours, you can swap out the old, leaky fixture with a new one that makes showering a more pleasant experience for all members of the family.