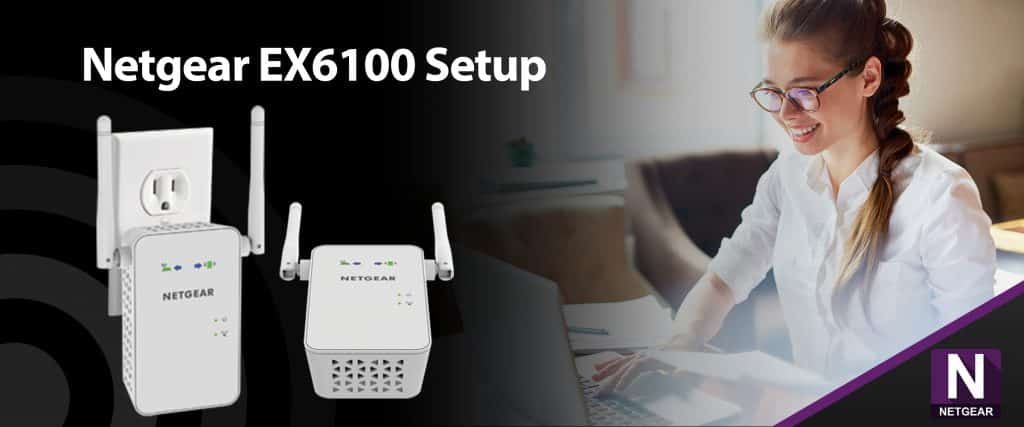
1. For setup, keep your range extender and wireless router in the same room. The extender can be relocated to its desired area once the setup is complete.
2. Plug in your Wireless router wireless range extender and ensure that it is receiving power and that its power LED is illuminated.
3. Check that the Device LED is also turned on.
4. Open any web browser and type the extender’s default IP address into the address bar: 192.168.1.250.
5. If you still can’t access your Netgear ex6100 wi-fi extender setup after resetting your browser, try again.
6. Change web browsers to confirm that the problem is not caused by the browser.
7. Use an Ethernet wire to connect your device to the extender.
8. Check to see if your computer has an IP Address.
Netgear EX6100 installation using mywifiext.local
1. Connect your extender and make sure the Power LED glows. If not, turn the power switch to on mode.
2. Connect your smartphone to the extender’s WIFI network using the SSID NETGEAR EXT, which is the extender’s default WIFI network name (SSID). The extender network either does not have a password or has a password as the default. You may receive a notice that the Internet is unavailable, which is to be expected.
3. Open a web browser and navigate to mywifiext.local. The page New Extender Setup appears.
4. Click or touch New extender setup and, if requested, agree to the terms and conditions.
5. Modify the admin credentials for your extender, which you will need to manage the extender’s settings using a web browser. It is advised to keep the default User Name as admin and use a different password.
6. Select any two security questions and store the answers, which will be used to retrieve your extender’s admin credentials in the future if necessary, and then click NEXT.
7. If requested, use the NETGEAR Genie for assistance by selecting YES or CONTINUE. Your extender will look for nearby WIFI networks.
8. Choose the radio buttons for your network’s 2.4GHz and 5GHz WIFI Network Names (SSID), and then click See More followed by NEXT if your network is not available.
9. In the Enter password field, enter the password for your present WIFI network and click NEXT.
10. Choose an SSID (Existing network name 2GEXT for the 2.4GHz band or Existing network name 5GEXT for the 5GHz band) and credentials for your extender.By default, the login for each band is the same as the password for your current network.
11. For mesh extenders, however, you can use the same WIFI name and password as your existing network.
If your extender supports it, tick the Enable One WIFI Name check box to enable this feature.This enables your extender to utilize the same WIFI name (SSID) and password as your current WIFI network. Next, press the NEXT button. The settings will be applied here, which will just take a few minutes.
12. To connect your device to the extender network, navigate to the WIFI settings and connect to the new network created by the extender.
13. Open a web browser, tick the box at the bottom of the page, and then click or tap Continue. Your extender is presently increasing the coverage of your network.
Wi-fi range extender setup using WPS Method
Installing the Ex6100 using Wireless Protected Setup (WPS) is one of the simplest and quickest ways to connect your extender to your current Network system. Follow the steps below to configure your EX6100 range extender.
• To install your Netgear EX6100 using the WPS button, connect your extender and router in the very same room and wait until another Power light on the Netgear Extender is solid green.
When you press the WPS button on the EX6100 Extender, the WPS light will begin to blink green.
• After about 2-3 minutes, the WPS light on your booster should turn solid green.
You can now transfer your extension to the spot where you want proper internet connectivity.
Note: If your router lacks the Wireless Protected Setup (WPS) button, go with the Manual EX6100 setup to connect your WIFI range extender.


