

If you’re tired of looking at your ceiling, and have tried several methods to remove popcorn from your ceiling, you may have a “popcorn ceiling.” Popcorn is a type of acoustic and spray-on ceiling, made of tiny pieces of polystyrene or vermiculite. These particles are known to absorb sound. To remove popcorn from your ceiling, follow these steps: 1. Prepare the room for the process.
Step To Remove Ceiling:
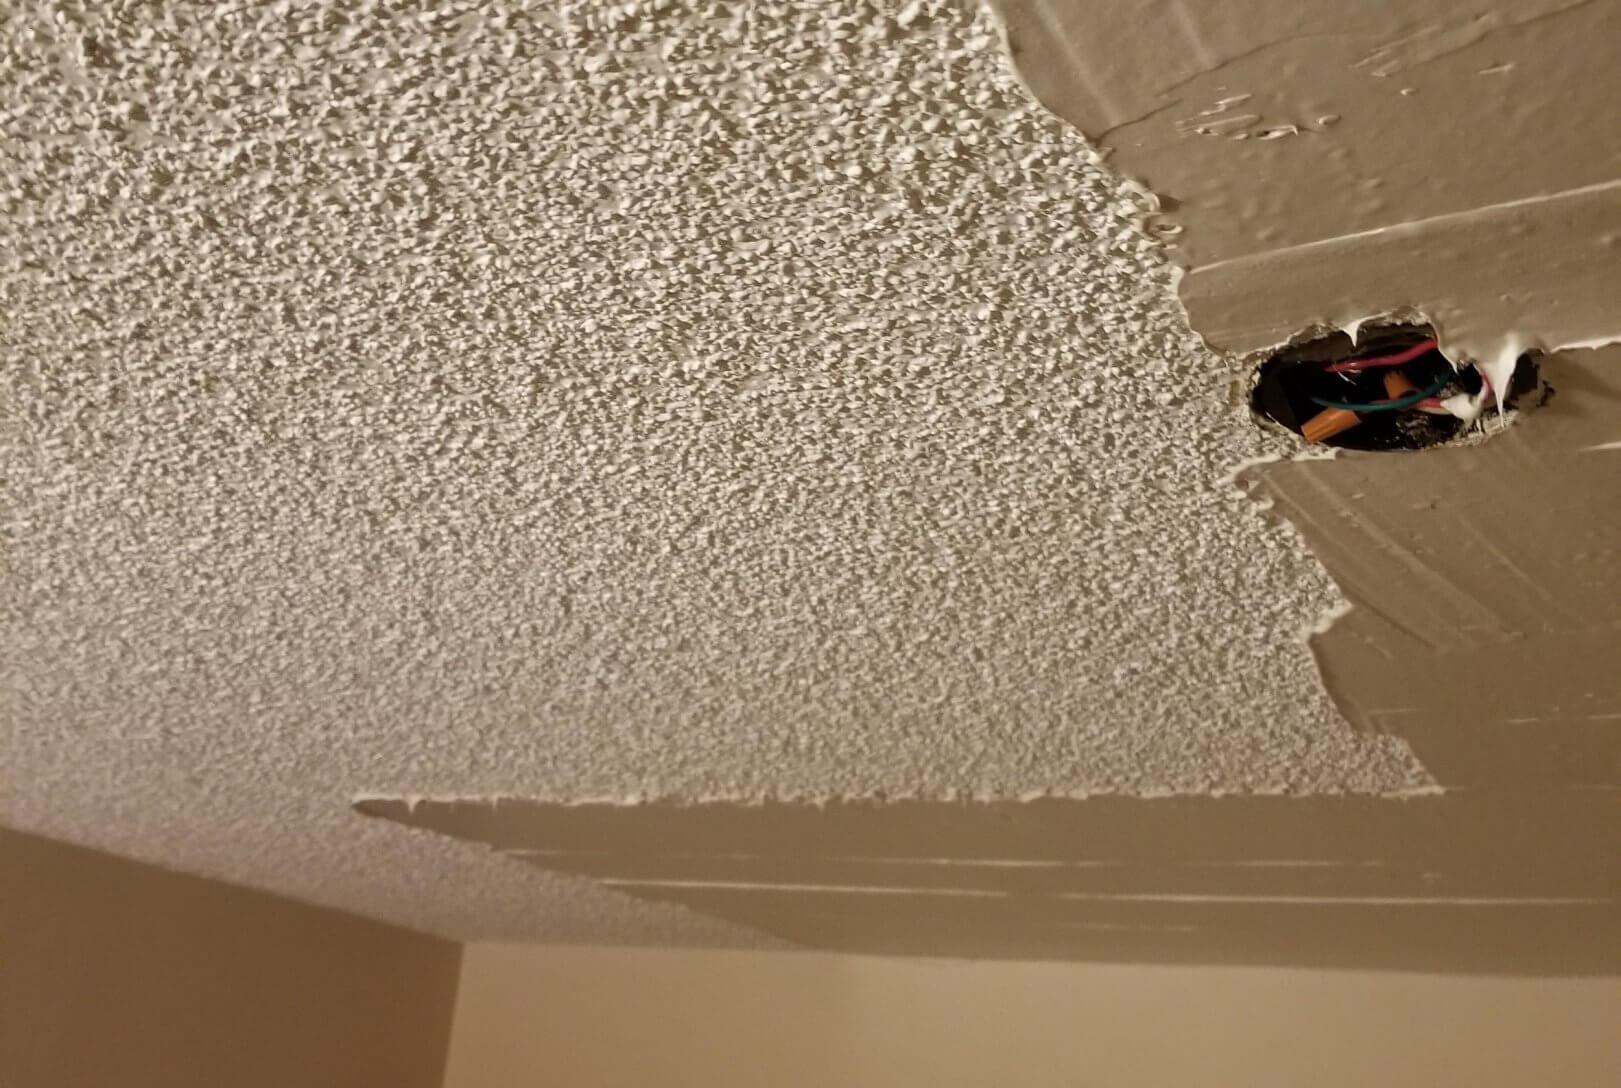
First, turn off your heating system. If you have paddle fans or ceiling vents, cover them with plastic before beginning the process. Also, disconnect all electrical outlets and switches. Using rosin paper before beginning the process makes cleanup easier. If you have a lot of popcorn ceiling, use caution and wear gloves to protect yourself and others from burns. You should also be prepared for a few dusty days after the removal process. If you plan to sell the home soon, make sure to use a cleaning solution.
If you are thinking of selling your home, popcorn removal is the best way to sell it quickly. After all, removing popcorn will increase your home’s value, and it will be more appealing to potential buyers. If you have a popcorn ceiling in your home, you may not want to sell it because of the resulting mess. You may even want to consider hiring a professional to perform the work. However, you should remember that popcorn removal is not a cheap process.
Another option is to hire a drywall removal company. If you have a popcorn ceiling in your house, drywall removal will make the ceiling look brand-new. This can also be a great way to give a home a facelift. It can give it a more modern look, and many clients are pleasantly surprised by the results. A modernized look is more appealing to potential buyers, and this is especially important if you plan to sell the property soon.
Once you have the popcorn removed from your ceiling, you should prepare the area. You should move all your furniture and the ceiling vents. If you’re selling your home, make sure to remove recessed lighting. You’ll need to remove the popcorn from the ceiling. You should also turn off the heat and air conditioning systems, and make sure the room is not too hot. Afterward, you’ll need to remove the ceiling. The popcorn removal process is not difficult at all. But it’s important to know how to do it properly.
If you’re selling your home, popcorn removal will make your home look much more modern. It’s a great way to make your home more appealing to potential buyers. It’s a one-day process, and you’ll need to prepare for it before the service begins. To remove popcorn from your ceiling, start by removing the plastic coverings from the floor and walls. Once these are off, the ceiling will be exposed.
Popcorn removal is a one-day process that will leave your ceiling and walls clean and sparkling. The process is done by removing all the popcorn from your ceiling and floor. The process will leave you with a clean ceiling and beautiful new floors. And it will make your home more appealing to buyers. If you’re selling your home, you should hire professionals to help you with the popcorn removal process. Listed below is a summary of the steps involved in removing popcorn from your ceiling.
The process is a one-day process and requires preparation on your part. While the process is relatively easy, you’ll still have to prepare the room. The first step is to remove all the floor and wall coverings. If you’ve got a ceiling with popcorn, you’ll need to remove the floor coverings too. If the ceilings are damaged, you will need to get a new one. This will be a costly process. You should hire someone to do the job for you, but it’s worth it.
Before you begin the popcorn removal process, be sure to cover your floors. Then, tape the plastic down. If you’re dealing with a commercial property, you should cover the area with plastic to prevent dust from flying everywhere. Then, you’ll need to move the furniture to a clean room. To remove the popcorn from the ceiling, you’ll need to take out the floor coverings as well as the ceilings. You’ll need to remove the floor coverings first, then the ceilings, and the floors.