Ever signed up on a site and thought, “Ugh, this form is boring, do I really need to fill all this?” Yeah. Happens to all of us. Now imagine you’re running your own WooCommerce store. People are ready to buy. Ready to trust you. But then they hit that clunky registration wall. That’s where many walks away.
WooCommerce, by default, keeps registration very plain. Too plain. Just email, password. Done. But stores aren’t one-size-fits-all. Maybe you run wholesale. Maybe membership. Perhaps you’d like to gather small details that can help you serve better. A custom user registration form? That’s the secret weapon. It turns a bland “sign up” into a handshake. Into trust. Into sales.
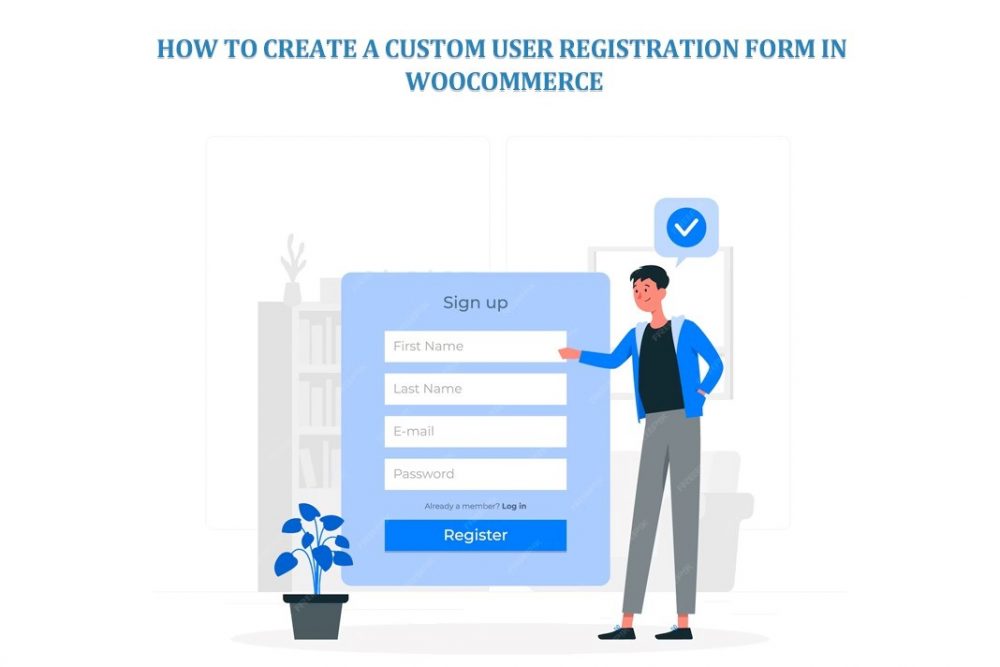
So, let’s dig in. How do you create a custom WooCommerce registration form that feels smooth, smart, and a little personal?
Why Default Registration Doesn’t Cut It
WooCommerce out of the box? Basic. Sure, it works. But it doesn’t care about your unique business.
Let’s say you’re running a B2B wholesale store. You can’t just ask for an email. You need tax IDs, company name, and even approval before letting them in. Or you’re running a membership site. You want people to select roles—such as “basic member” or “pro member.” The default form can’t handle that.
Custom registration fills those gaps. It lets you:
- Collect exactly the data you need.
- Approve or reject signups.
- Assign custom roles.
- Send cool notifications.
- Even pre-fill checkout details.
In short, it’s about control. And control means better business.
Think Before You Build
Here’s a mistake many make. They start adding fields left and right. “Let’s ask for this. And this. Oh, maybe this too.” And suddenly? The form feels like applying for a bank loan. Nobody likes that.
So, stop. Breathe. Plan. Ask yourself:
- What store am I running?
- Which info is a must-have?
- Do I want manual approvals?
- Should users pick roles?
- How will emails be sent?
A good form is like a good conversation. You don’t overwhelm someone the moment you meet them. You ease in. Keep it light. Collect only what matters.
Two Ways to Do It
You’ve got options. Two main ones, actually.
Option 1: Use a Plugin
This is the way most go. Easier. Faster. No coding headaches. You get drag-and-drop fields, email settings, and role control. Done.
Option 2: Code It Yourself
If you’re a developer or love tinkering with PHP, you can add fields using WooCommerce hooks. It’s powerful. Gives you freedom. But yeah—also more work, more risk of breaking stuff.
For 90% of store owners? Plugins save sanity.
Building It with a Plugin – Step by Step
Step 1: Pick the Right Tool
Plenty of plugins out there. Some simple. Some overkill. One good pick is the WooCommerce Registration Plugin. It lets you add fields, control roles, approve or reject users—all without code. Solid.
Step 2: Install & Activate
WordPress dashboard → Plugins → Add New. Upload or search. Activate. That’s it.
Step 3: Add Your Fields
What do you need? Name. Phone. Address. Maybe “How did you hear about us?” Add those. Use dropdowns, text boxes, checkboxes. Please keep it clean.
Step 4: Set Up Roles
Running wholesale? Let users pick “Retail” or “Wholesale” at signup. Running membership? Offer “Basic” or “Premium.” Roles help you shape user access rights away.
Step 5: Enable Approvals (Optional)
Don’t want everyone walking straight in? Put them on hold. Pending. Approve later. Especially useful for vendors or wholesale buyers.
Step 6: Customize Notifications
Emails matter. They’re like tiny welcome notes. Write them well.
- Pending email: “We’re reviewing your account.”
- Approval email: “You’re in. Welcome!”
- Rejection email: Be polite. Always.
Step 7: Test Like a Newbie
Register yourself. Pretend you’re a customer. Does it work? Do you get emails? Can you log in only when approved? Testing saves embarrassment later.
Best Practices (The Do’s)
Creating a registration form isn’t rocket science. But getting people actually to finish it? That’s where the game is. Here’s what separates a smooth form from a frustrating one:
- Keep It Short
Every extra field is a test of patience. Ask too much and people drop out. Imagine signing up to buy a t-shirt, only to be asked for your company name, tax ID, and fax number. You’d leave. Keep the must-have fields. Save the “nice-to-know” stuff for later, maybe after checkout.
- Use Conditional Logic
Not everyone needs the same fields. A regular customer doesn’t need to fill in a company tax ID. But a wholesaler does. Conditional logic means the form changes based on answers. It feels smarter. More personal. Less clutter. Customers love that.
- Mobile Test Everything
Most signups happen on phones now. Small screen, small patience. If your fields are too tiny or the layout breaks, they’ll close the tab. Always test your form on mobile. Pretend you’re registering in the back of a taxi. Can you do it in 30 seconds? If yes, you nailed it.
- Add Security
Bots are annoying. Fake accounts clog your system. Add CAPTCHA. Or better, email verification. That extra step keeps the bad guys out. It also makes real users trust you more. Because they know your site isn’t a playground for spam.
- Friendly Flow
Ever filled a form that felt stiff? Like the website was barking orders? Don’t do that. Keep it friendly. Use warm words. Example: instead of “Enter Email Address,” try “Hey, what’s your email? We’ll keep it safe.” Small tone changes, big trust impact.
Nice Extras You Can Add
Add some bells and whistles that make signup easier, faster, and even fun.
- Two-Factor Login
If your store handles sensitive info—like high-value B2B orders or memberships—this is gold. Users log in and then confirm with a code sent to their phone or email. A little extra step. But way more security. Customers feel safer. Hackers hate it.
- Redirects
Default WooCommerce drops new users into the boring “My Account” page. Yawn. Instead, redirect them to a welcome page. A special offer could be offered. A personal note. “Hey, welcome! Here’s 10% off your first order.” That’s not just a redirect. That’s a warm welcome.
- Editable Profiles
People change. Emails change. Businesses move. If your form collects details, let users update them later. Nothing worse than being stuck with old info and no way to fix it. Editable profiles make life easier for them and for you.
- Tracking & Analytics
Here’s the sneaky but powerful one. Add tracking to see where users abandon the form. Maybe they quit at the phone number field. Or they bounce at the password confirmation. Once you know, you can tweak. A little change can save dozens of signups.
Real Stories, Real Uses
- Wholesale Shop: The owner needs a tax ID and approval. Customers apply. Only legit buyers get in—smooth system.
- Membership Site: New users pick “Basic” or “Pro.” That choice unlocks different content instantly.
- Marketplace: Sellers fill out lengthy forms and wait for approval. Buyers? Quick, easy signup. Both journeys are tailored.
See? Different businesses. Same solution—custom registration.
Mistakes That Kill Registrations
Don’t fall for these:
- Asking for everything up front. Feels like an interrogation.
- Not testing. Broken forms = zero signups.
- Skipping emails. Users feel ignored.
- Weak security. Bots flood your database.
- No role management. Everyone dumped into “Customer.” Useless.
Conclusion
A registration form is the doorway to your WooCommerce store. Keep it plain; people hesitate. Keep it complicated, they run. But keep it smart, simple, and tailored? They step in gladly.
Custom forms aren’t just about collecting data. They’re about shaping the first impression. About showing you care who’s signing up. Plugins make it easy. Coding makes it flexible. Either way—it’s worth it.
So don’t stick with the default. Build your form. Keep it light. Add what matters. Approve when needed. Send friendly notes. And above all, test it because every smooth registration is the start of a relationship. And in eCommerce, relationships are everything.